
_edited.png)
🔘 The Silver Tees: Indoor Launch Monitors - The Basics

By Jim Penman
Jim is a 61-year-old golfer who lives in the North Atlanta suburb of Alpharetta. Originally from the UK, he settled in the Atlanta area over 20 years ago and currently plays regularly at White Columns Country Club.
Introduction to Indoor Launch Monitors
Following on from last month’s look at outdoor launch monitors, this month I’m diving into indoor systems—a topic I’ve spent the last three years exploring in depth, and one that ultimately led me to install a simulator at home.
With Atlanta’s hot summers and the occasional cold snap, indoor simulators are becoming an increasingly popular option for year-round practice.
There is naturally some overlap between indoor and outdoor launch monitors. Several devices can function in both environments, but many perform significantly better in one setting rather than the other. Indoor launch monitors generally fall into three main categories:

Radar-Based (Doppler) Monitors
Position: Floor units placed approximately 8 feet behind the hitting area
Best Use: Primarily outdoors, but can be used indoors if sufficient space is available

Camera-Based (Photometric) Floor Monitors
Position: Floor units placed about 2 feet to the side of the hitting area
Best Use: Ideal for indoor use, though some models also perform very well outdoors

Camera-Based (Photometric) Overhead Monitors
Position: Mounted on the ceiling directly overhead or slightly in front of the hitting area
Best Use: Indoor use only
The Basics
The first thing I would say to anyone considering an indoor launch monitor is this: the market is complex.
Before making my initial purchase, I spent considerable time researching online, speaking with industry experts, and even attending the PGA Show in Orlando to gain what I thought was a full understanding. Despite making many good decisions along the way, I still ended up choosing the wrong monitor—and will be replacing it shortly with something better suited to my needs.
You can certainly figure things out on your own. Based on my experience, however, I strongly recommend working with an advisor. There are two main types:
Retail-based advisors who sell multiple brands and typically offer guidance at no cost
Independent consultants who charge for their time but provide fully customized advice
One consultant I’ve been particularly impressed with is Mitch at Handicap Golf, who offers online courses and 1:1 consulting sessions. If I were starting over, I would absolutely go this route—it’s a relatively small upfront investment that can help avoid costly mistakes later. Mitch can be reached HERE
Recommended Indoor Launch Monitors by Price Category
Category 1: $1,100 or Less

Recommended Product: Square Launch Monitor
MSRP: $699
Club stickers required: Yes (for club data)
Special marked balls required: Yes (though TaylorMade TP5 Pix balls also work well)
Annual subscription fees: None
GSPro compatibility: Yes, no charge
Other option worth considering:
FlightScope Mevo+: MSRP $1,100
Category 2: $6,500 or Less
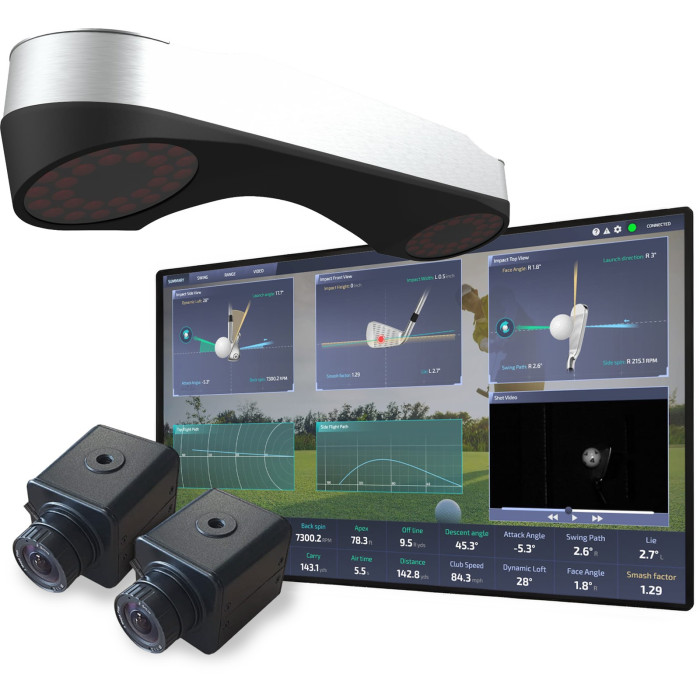
Recommended Product: ProTee VX Launch Monitor
MSRP: $6,500
Club stickers required: No
Special marked balls required: No
Annual subscription fees: None (except as noted below)
GSPro compatibility: Yes ($300/year ProTee subscription + $250/year GSPro)
Other option worth considering:
V Track Launch Monitor: MSRP $5,000
Category 3: $11,000 or Less

Recommended Product: Uneekor Eye XO2 Launch Monitor
MSRP: $11,000
Club stickers required: Yes
Special marked balls required: No
Annual subscription fees: None for basic use; advanced features require subscription
GSPro compatibility: Yes

Comments